
To translate human language also known as high-level language to low-level language so that it can be read and understood by the machine compiler are used. Several different languages are used for communicating with machines and based on their types compilers also vary.
GCC is a GNU-based compiler that supports multiple programming languages which include C, C++, Objective-C, go, FORTRAN, and more. On Ubuntu 24.04, the GCC compiler is not pre-installed so to install it there are several ways and the choice of method purely relies on the user.
How to Install gcc Compiler on Ubuntu 24.04
The GCC compiler on Ubuntu 24.04 provides a complete runtime environment for code compilation and generating executables. Furthermore, it comes with multiple optimization and debugging features that result in improving the performance and efficiency of compiled applications. To install GCC on Ubuntu there are four ways:
1: Though Ubuntu’s default package manager
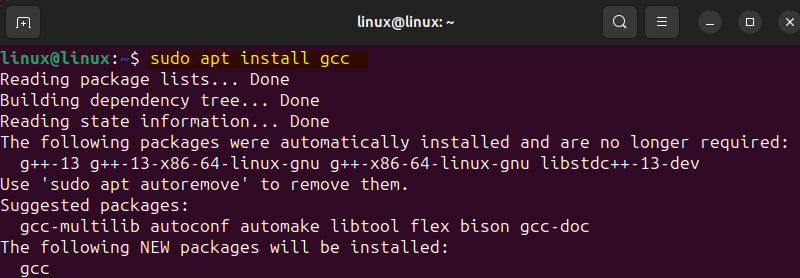
The most easy and steadfast way to install GCC is by using the Ubuntu apt package manager by executing:
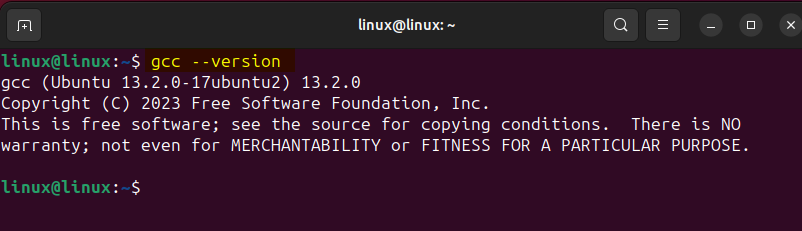
To verify the installation, check the compiler version:
2: Through Source File
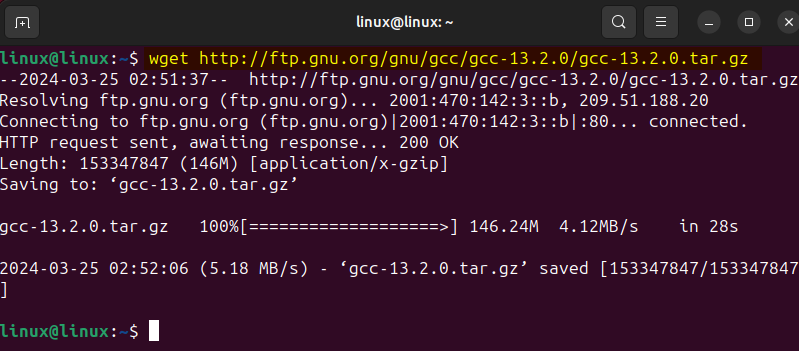
Another way to install the GCC compiler on Ubuntu is by compiling its source file which can be downloaded from GNU archives. The significance of using this method is that you can install any older version of the GCC compiler. To download, either visit the index page of GNU and select the version of your choice or copy the download link and then use the wget utility:
Here I have downloaded the latest version of the GCC compiler:
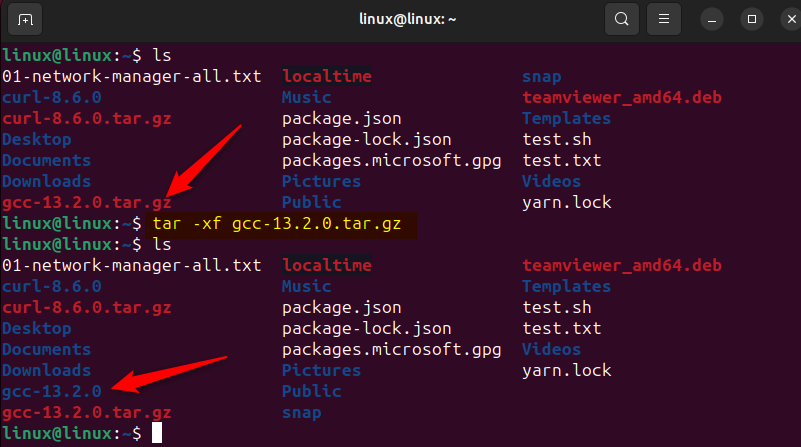
Now extract the tar file by using the tarball utility:
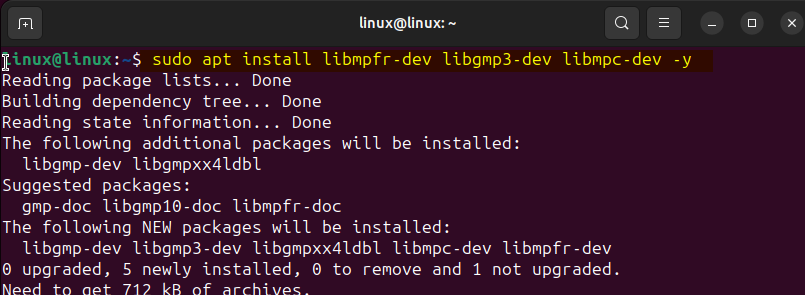
Now install the development libraries for MPFR, MPC, and GMP which are required for compiling the source file of GCC. The MPFR is designed for high-level mathematical calculations, the MPC is the library for the arithmetic of complex numbers having high precision, and the GMP is used for arithmetic without limitations on precision:
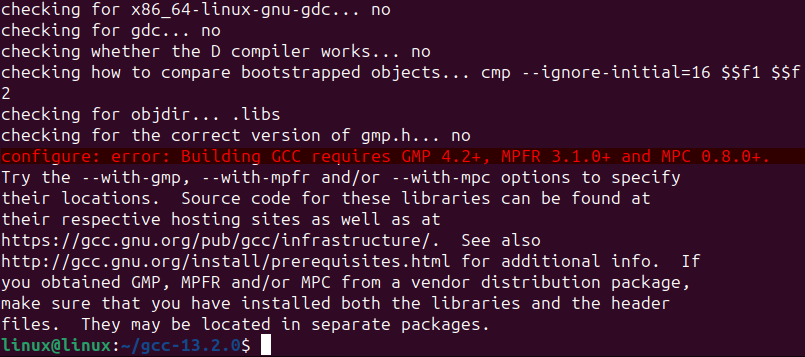
Further, if these libraries are missing then while compiling the source code you will get an error for these libraries as in the image below:
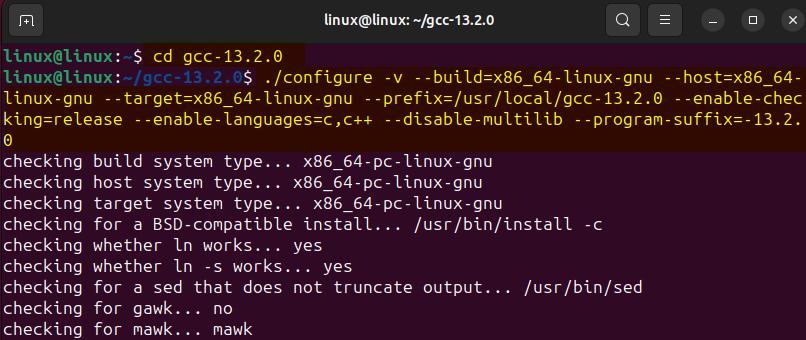
Now navigate to the extracted folder directory and execute the configure file to prepare the build environment for compiling the GCC package. Here in the command, there are several options used which are:
- v: This enables the verbose mode to have a more detailed output during the configuration process.
- build=x86_64-linux-gnu: To specify the system build, this option is used.
- host=x86_64-linux-gnu: To specify the system where the complied program will run
- target=x86_64-linux-gnu: The option is used while compiling code which creates a code for a different system other than the one they run on. Here it is the same as the system build and host.
- prefix=/usr/local/gcc-13.2.0: Assists in setting up the installation directory of the application. This might vary if you are using any other version.
- enable-checking=release: To catch any errors while compiling, certain checks are enabled using this option. Here the release type is for setting fewer checks you can set it to developmental for higher checks.
- enable-languages=c,c++: The GCC compiler supports various languages but you can only enable the one you intend to use.
- disable-multilib: To allow the compiler to build and run programs for multiple target architectures from a single build the multilib is disabled.
- program-suffix=-13.2.0: To differentiate between the programs installed from their other versions if installed a prefix of GCC version is added.
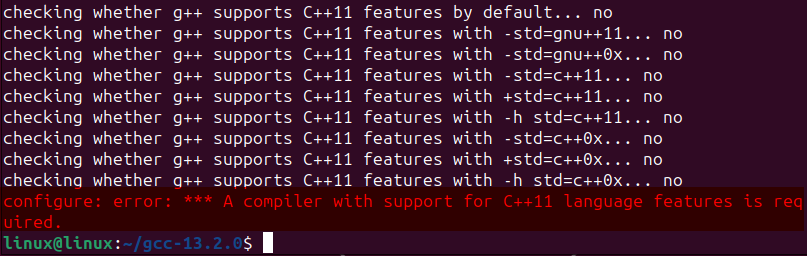
Now if you are installing the GCC compiler for the first time, you will receive a configuration error of the C++ 11 compiler required for the compilation of the configure file:
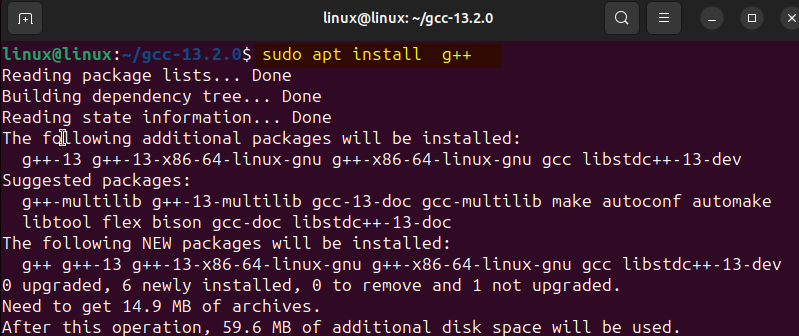
To resolve this error you have to install a C++ compiler and for that execute:
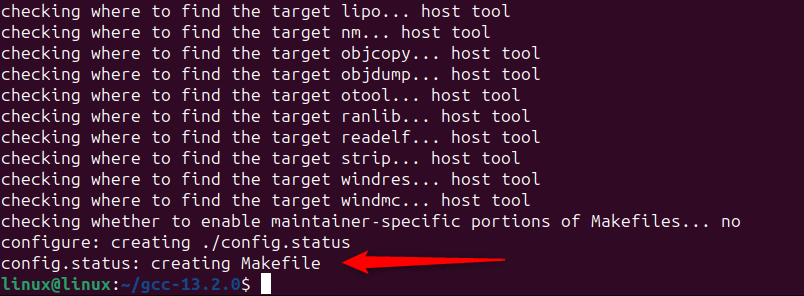
Now again execute the configuration file for GCC and once the compilation is successful you will see the message of creating make file:
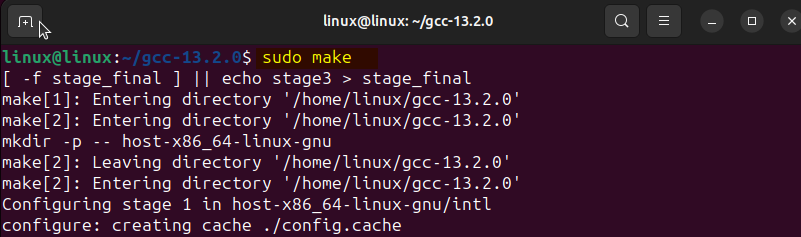
Now to make the complied file executable, use the make command, this will take some time:
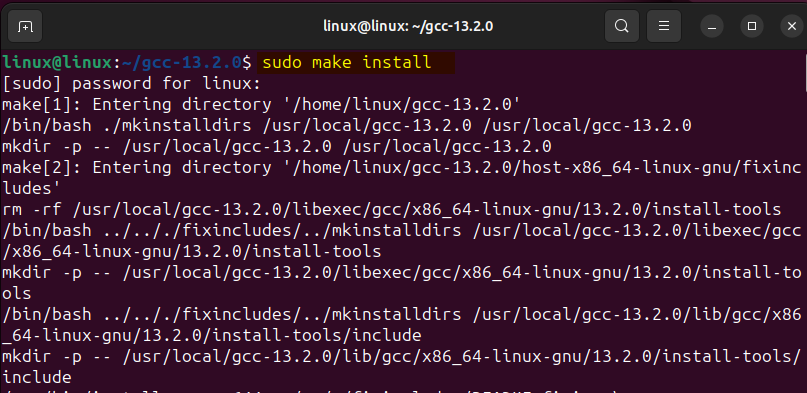
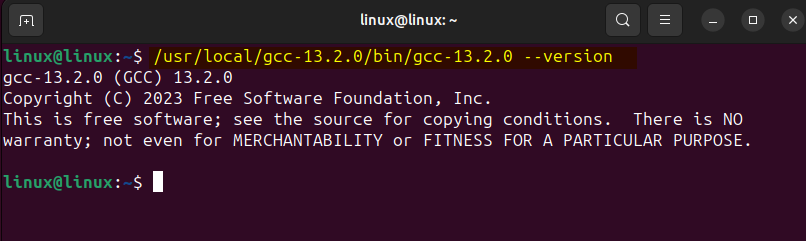
Now install The GCC compiler using the make file which consists of all the instructions for installation:
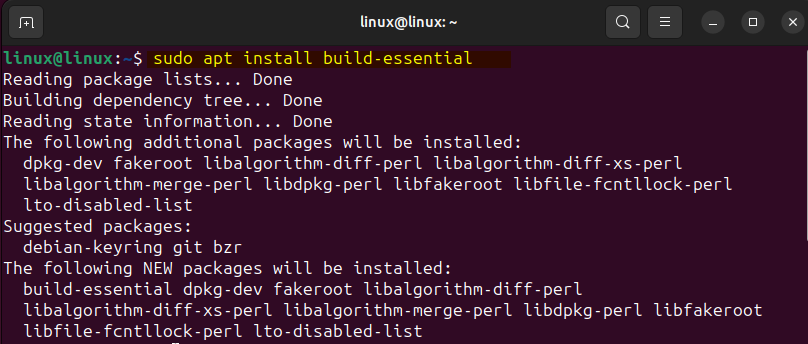
3: Through Build-Essential Package
Another way to install the GCC compiler on Ubuntu is by installing the build-essential package. This is a meta package that is Debian-based and contains the list of packages that are necessary for building a Debian package. The list includes G++ and GCC compilers as well, which serve the purpose of compiling software from source code. To install GCC via build essential execute:
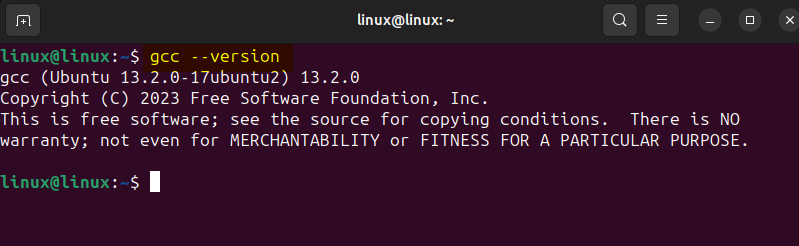
After installing this meta package verify the GCC installation by checking its version:
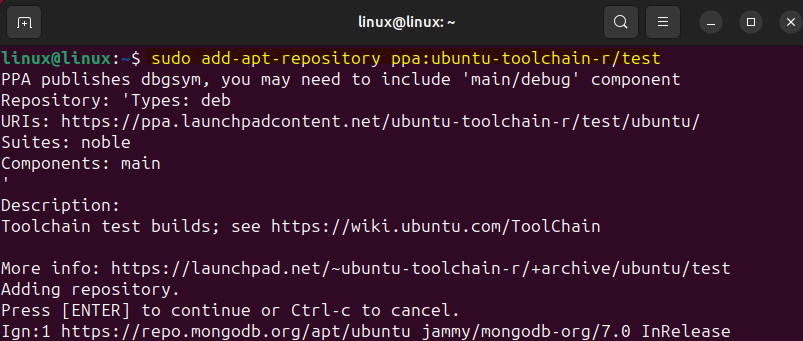
4: Through Repository
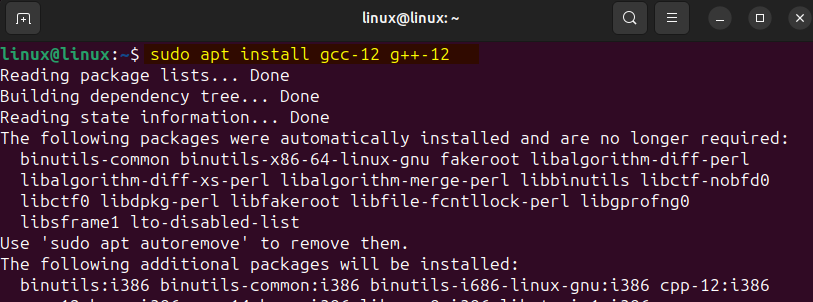
If you are looking to install multiple versions of GCC then you can use the personal package archive repository by toolchain which contains all the versions of GCC. So to add the repository execute:
To successfully add the repository update the packages list and then install the GCC version of your preference. Here I have installed versions 12 and 11 for illustration:
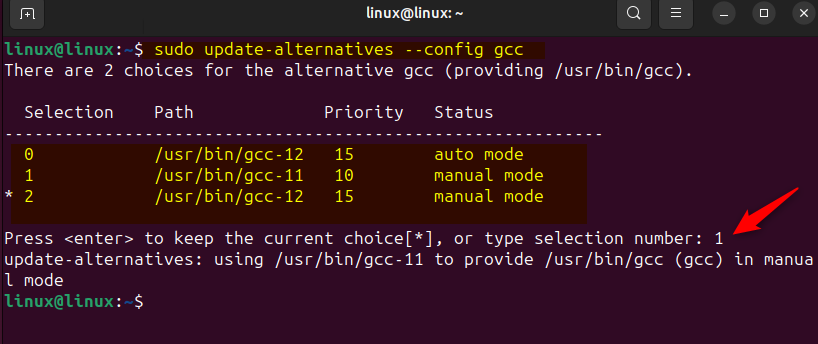
Once you have installed GCC add it as an alternative for both GCC and g++. Here in the below command, I have added version 12 followed by version 10. Here you need to set the priority for each version so for version 12 I have kept the priority of 15 and for version 11 the priority is set to 10. Use the same command below just change the version and priority to the desired one:

Now to select the version of GCC execute the command below and confirm the selection by entering the choice selection number:
Here, I have selected the version 11 for use:
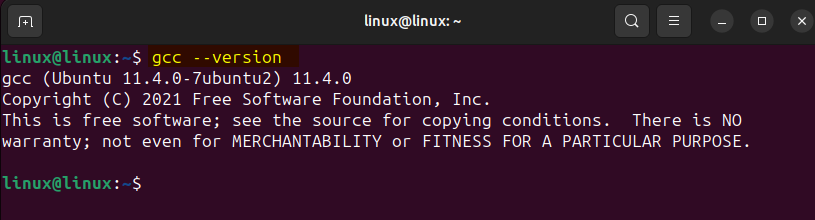
To confirm the selection, check the GCC version by executing:
Compiling a C/C++ Program using GCC compiler on Ubuntu
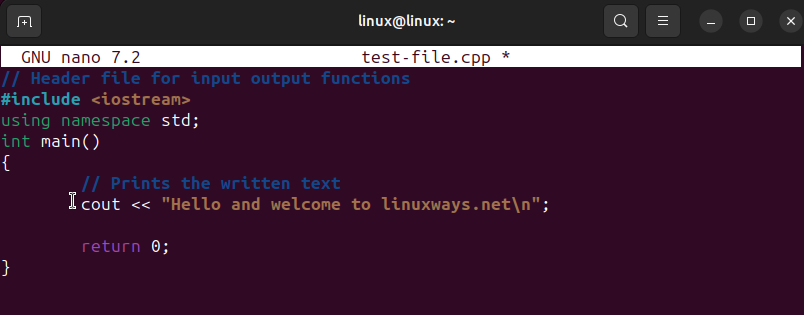
To compile a code either in C or C++ using GCC, just create a file with either .c or .cpp extension and paste your code. Here I have compiled the following simple C++ code using GCC:
#include <iostream>
using namespace std;
int main()
{
// Prints the written text
cout << "Hello and welcome to bestlifeless.com\n";
return 0;
}
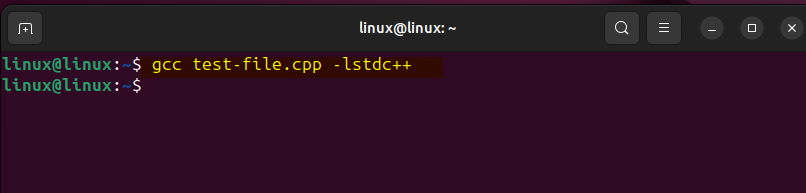
After saving the file, use the below syntax for compiling the code, here lstdc++ serves the purpose of linker without using it, you will get the linker error:
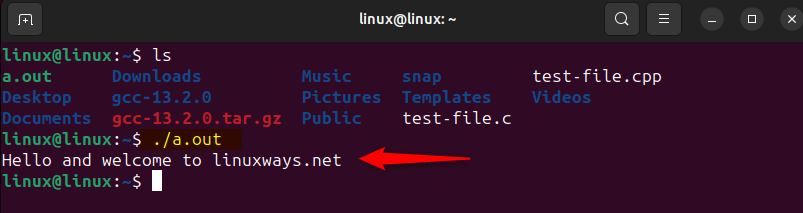
After the code is complied successfully, it will create an output file and see the code output by executing the file with .out extension:
Conclusion
GCC is a GNU-based compiler that supports several languages and is used for software development, open-source projects, and web servers like Apache and MySQL. There are primarily four ways to install the GCC compiler on Ubuntu 24.04. These include using apt package manager, GCC source file, build-essential meta package, and toolchain repository.
If you do not have any preference for the version then either use the build-essential or apt package. To install later versions of GCC you should use the PPA repository by toolchain. To compile a code using GCC use the gcc command along with the correct linker and view the output by executing the output file generated by the compiler.
I’m Aaliyan javaid, an electrical engineer and a passionate tech enthusiast. I have been working with embedded systems, programming, and Linux operating systems for over 2 years. I love to explore new technologies and share my knowledge and experience with others.